
Introduction
These instruction assume you've already registered to the Private Tunnel and have logged in to your "My Portal" page from the Private Tunnel homepage.
Downloading the OpenVPN configuration file(s)
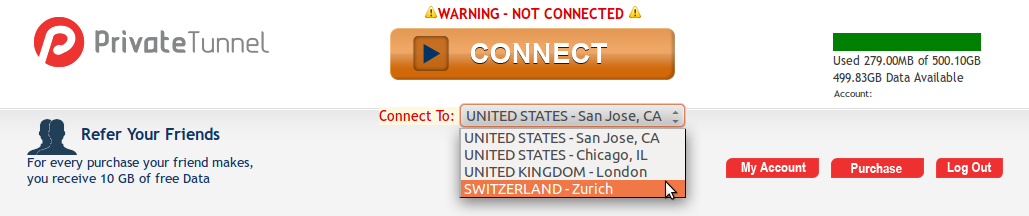
There are Private Tunnel servers in different countries, each requiring it's own configuration file. First you need to select the server you want to use from the My Portal page:

Select the correct server from the dropdown menu, click on the big CONNECT button and then return to the My Portal page. This is a necessary workaround to make the server you selected "active". If you don't do this, you'll only get the configuration file for the default server (at the moment San Jose).
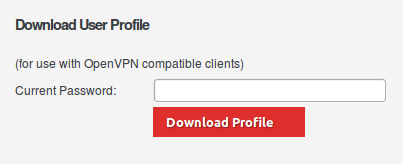
Now click on "My Account" and navigate to the "Download User Profile" section:

Insert your password and click on "Download Profile". The file you receive can be used with any OpenVPN-compatible client.
Rinse and repeat for every server you want to use.
Installing the configuration files on Debian/Ubuntu?
If you don't have OpenVPN installed already, do this:
$ apt-get update
$ apt-get install openvpn
Then copy the client.ovpn file(s) you downloaded to the OpenVPN configuration directory:
$ sudo -s
$ cp ~/Downloads/client.ovpn /etc/openvpn/privatetunnel.conf
$ chown root:root /etc/openvpn/privatetunnel.conf
Next open /etc/default/openvpn and follow the instructions given there:
$ nano /etc/default/openvpn
Now you're ready to go. If you configured OpenVPN to autostart "privatetunnel" or "all", you can do
$ /etc/init.d/openvpn restart
and you should get connected.
Connecting to and disconnecting from the Private Tunnel manually
You can launch the Private Tunnel connection manually from the terminal like this:
$ openvpn --config privatetunnel.conf
Use Ctrl-C to disconnect.
Attachments (2)
-
Private Tunnel download user profile.png (9.5 KB) - added by 12 years ago.
Private Tunnel download user profile
-
Private Tunnel My Portal.png (45.9 KB) - added by 12 years ago.
Private Tunnel My Portal page
Download all attachments as: .zip